Nearly 1 in 4 home bakers end up with a pie that browns too fast, so yes, you can bake a defrosted Marie Callender pie if you handle it with care. Lower the oven temperature slightly, watch the crust closely, and check the filling before relying on the timer. A few small adjustments can keep the fruit from turning soupy and the edges from burning, and the best part is that it is easier than you might think.
Can You Bake a Defrosted Marie Callender Pie?
Yes, you can bake a defrosted Marie Callender pie, and that’s good news if you already took it out of the freezer and changed your mind halfway through thawing.
If your frozen pie is fruit-filled, you can still finish it in the oven. You just need to handle the thawed pie with a little extra care so the crust doesn’t get too dark before the filling sets.
Many bakers lower the temperature slightly from the frozen-bake setting and watch the edges closely. A foil ring helps protect the rim while the center finishes.
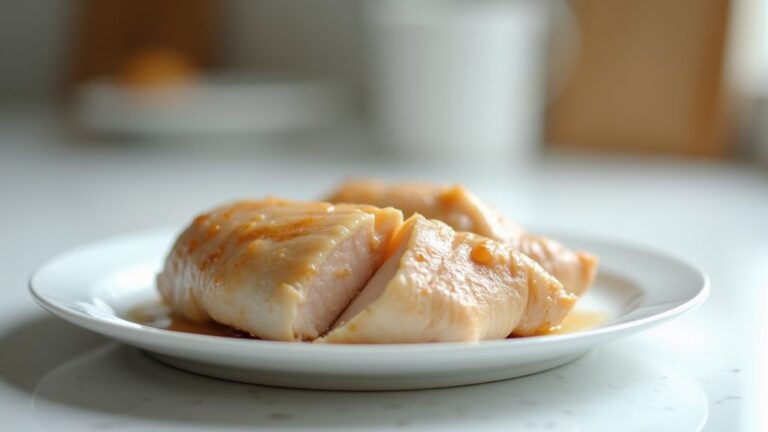
If the pie is fully baked, such as a cream pie, don’t bake it again. Chill it and serve it according to the package directions.
How Should You Adjust Time and Temperature?
Once you bake a thawed Marie Callender pie, a small adjustment to time and temperature can help keep the crust from getting too dark before the filling is ready. You are in good shape when you make this simple swap. For a Marie Callender’s pie, reduce the oven temperature by about 25°F from the box, then shorten the bake time by about 10%. If the package says 400°F for 45 minutes, try 375°F for about 40 minutes.
| Change | Example | Why it helps |
|---|---|---|
| Temp | 400°F to 375°F | Slows browning |
| Time | 45 to 40 min | Keeps filling safe |
| Check | Start sooner | Catches doneness |
| Look | Bubbling filling | Signals readiness |
| Finish | Light golden crust | Shows balance |
Start checking sooner so you can remove it when it looks calm, cozy, and done.
Should You Cover the Pie Edges With Foil?
A foil halo around the pie edge is a smart move, especially when you’re baking a thawed Marie Callender’s fruit pie. It gives your crust a little shield, so the rim doesn’t turn too dark before the filling catches up.
In a convection oven, such as one set to 360°F, you should still lower the heat by about 25°F, then wrap only the outer edge with foil. A long strip works well, and you can tent it over the rim for a snug fit.
If the crust still looks pale near the end, loosen the foil for the last 10 to 15 minutes. Even with a prebaked shell, that foil helps your pie stay balanced, cozy, and bakery worthy.
How Do You Tell When It’s Done?
You can tell a thawed Marie Callender pie is done by using both your eyes and a thermometer, and that extra patience pays off. Start checking the oven about 10 percent before the suggested time, then peek every 10 to 20 minutes.
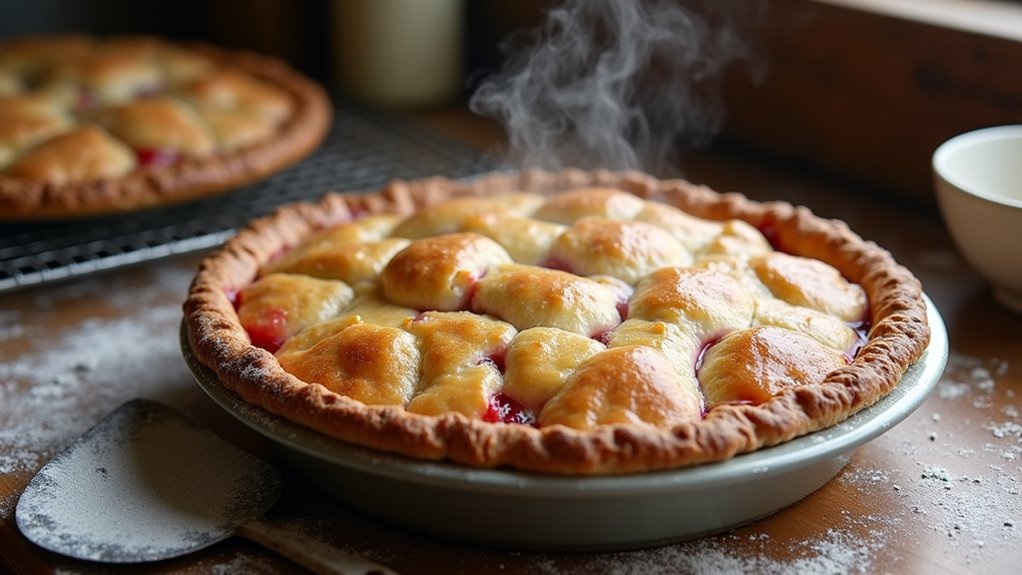
Look for filling bubbling through the vents or seams, because that means heat has reached the center. Next, lift the pie gently and check the crust. It should look light golden, not pale or soggy.
Then use an instant-read thermometer in the thickest part of the filling. You want about 165°F for safety and a fully cooked texture.
If the edges brown too fast, keep the foil halo on until the last 10 to 15 minutes. When both the visual signs and the temperature agree, the pie is ready.
What Marie Callender Pie Baking Tips Help Most?
Thaw the pie fully at first, since that helps the filling heat more evenly and keeps the crust from getting too dark.
Next, lower the oven temperature slightly from the box directions, because a gentler bake protects the crust while the center catches up.
Then wrap the edges with a foil collar and set the pie on a baking sheet, so you can shield the rim and catch any bubbly drips without stress.
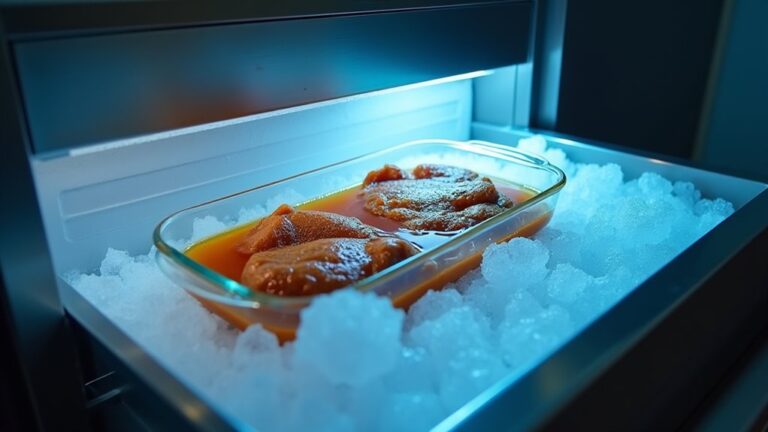
Thawing Best Practices
When you thaw a Marie Callender pie the right way, baking becomes easier and the crust holds up better. For Marie Callender fruit pies, keep them at room temperature for 1 to 2 hours, or refrigerate them overnight if the package directions allow it. This helps the pie bake more evenly and gives you a better result from the start.
- Check the package first, since it provides the specific directions.
- Place the pie on a plate to catch any drips.
- Bake only after the pie is fully thawed, with no ice in the center.
That waiting time matters because the filling and crust need to finish baking together. Patience here helps produce a better pie.
Oven Temp Adjustments
A simple temperature tweak can save your thawed Marie Callender pie from a burnt edge and a pale center. Preheat the oven to 25°F below the box setting, so a 350°F pie bakes at 325°F. That gentler heat lets the filling catch up while the crust stays crisp, not overdone.
Place the pie on a baking sheet on the center rack for steady airflow and fewer hot spots. If you thawed it first, you can also trim about 10% from the usual bake time, then start checking sooner.
Use an instant-read thermometer and aim for 165°F to 175°F in fruit pies. Once the top looks lightly golden and the filling bubbles, you’re close.
With this small adjustment, your pie can feel bakery-quality right in your kitchen.
Foil Crust Protection
Foil can be the quiet hero when your defrosted Marie Callender pie starts browning too fast at the rim. You aren’t alone if the crust looks ready before the center is fully heated.
Set the pie on a baking sheet and place it on the center rack for steady heat. Then wrap a long strip of foil around the edge like a halo to protect the crust edges. This shields the thin, thawed rim without hiding the filling from the oven.
- Check the edge after a few minutes.
- Remove the foil for the last 5 to 10 minutes if the crust stays pale.
- Use an instant-read thermometer and look for about 165°F in the filling.
What If the Instructions Are Missing?
When the label is gone, you can still get the pie right by rebuilding the directions from the pie type and the bake state. Check SmartLabel or call the maker for a quick backup, then use the pie’s crust and filling style to set the temperature and time.
That way, you won’t have to guess, and your pie still has a good chance of turning out warm, set, and not burnt at the edges.
Reconstruct Baking Directions
Once the box instructions are gone, you can still bake the pie with confidence by following a few safe rules that protect both the crust and the filling.
When you handle a defrosted pie, lower the heat about 25°F from the usual box temperature so the edges don’t cook too quickly. Then follow these steps:
- Set the pie on a baking sheet in the center of the oven.
- Cover the rim with foil after 15 to 20 minutes.
- Check the filling and crust carefully until the center reaches about 165°F.
If you have a prebaked shell, start at 400°F and prick the bottom first.
For a double crust, stay close to the original temperature and watch it closely.
This approach helps you follow a steady, reliable baking process.
Check SmartLabel Details
If the paper baking label peels off or the print becomes hard to read, you don’t have to guess. Scan the SmartLabel QR code or visit smartlabel.labelinsight.com to find Marie Callender’s official directions.
There, you’ll see the full bake-from-frozen and thawed guidance, plus ingredient and allergen details. If you’re looking at a fruit pie or a prebaked shell, SmartLabel also shows the usual steps, such as preheating, pricking the bottom, and baking on a sheet in the center of the oven.
It also helps you check whether the filling has reached a safe temperature. You can review storage, thawing, and quick-serve notes, so you feel prepared before you contact customer service.
If you need help, Conagra’s contact information is listed too.
Use Pie-Type Timing
Missing the paper directions can be frustrating, but you can still bake a thawed Marie Callender pie with good results by using the pie type as your guide. If you’re handling a thawed fruit pie, lower the listed frozen temperature by 25°F so you protect the crust and keep the filling from cooking too quickly.
- Set the pie on the center rack and place it on a baking sheet.
- Protect the crust edges with foil when they darken too fast.
- Check the center after 20 to 30 minutes, then use a thermometer.
You want the filling to reach about 165°F. If it still looks pale, keep baking and check every 10 to 15 minutes. That way, you stay calm, stay in control, and serve a pie that feels like home.
Frequently Asked Questions
Can You Cook a Thawed Marie Callender Pumpkin Pie?
Yes, you can bake it. Thaw it, then heat it and watch it closely. Try recipe variations and ingredient substitutes as needed, then bake until the filling reaches 165°F and the crust is golden.
Do You Have to Thaw a Marie Callender Pie Before Baking?
No, you do not always have to thaw a Marie Callender pie before baking. Many can be baked from frozen; just check the package, follow the storage instructions, and ignore ingredient substitutions unless you are changing the recipe.
How to Bake a Frozen Pie That Has Thawed?
Lower the oven 25°F, place the pie on a baking sheet, and shield the crust edges with foil. Check it often until the filling reaches 165°F. For storage tips and crust variations, you are in the right kitchen.
How Long to Cook a Defrosted Pie in the Oven?
You’ll usually bake it for 20 to 40 minutes, checking at 12 to 15 minutes for oven timing and crust texture. Keep your oven about 25°F lower, and cover the edges once they start browning so you don’t overbake.